
How To
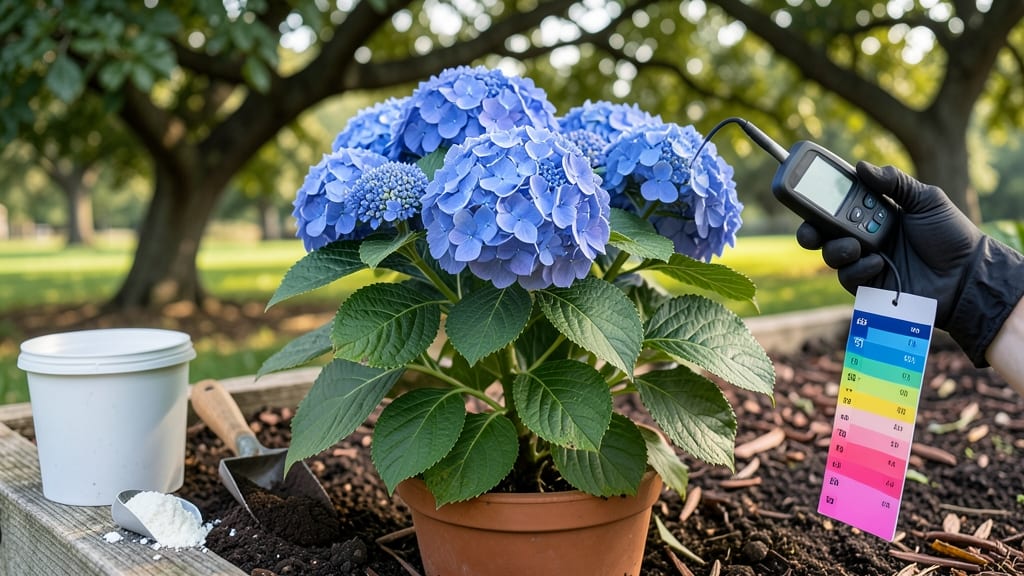
Balancing soil pH isn't just science—it's the difference between thriving plants and struggling ones. 🌱 I've spent years tweaking my garden's pH, and the results speak for themselves: vibrant blue hydrangeas, lush lawns, and vegetables that actually produce. The secret? Testing first, then making small, targeted adjustments instead of guessing.
Most gardeners overlook pH because it feels complicated, but it's actually straightforward. Grab a soil test kit (or send a sample to your local extension office), check the pH scale (4.0–7.5 is common), and compare it to your plants' needs—azaleas love 4.5–5.5, while tomatoes thrive at 6.0–6.8.
A simple lime application raises pH, while sulfur lowers it, but timing matters: amendments take 2–6 months to fully integrate. What you'll end up with is soil that finally supports the plants you've been struggling with.
The texture improves, roots spread deeper, and nutrients unlock—no more yellowing leaves or stunted growth. Even my black thumb's gardens now grow stronger and faster than ever. Works for flower beds, vegetable patches, and lawns alike.
Here's how to get it right the first time—no more wasted amendments or frustrated plants.
📚 In This Guide
- What you need
- Instructions
- Tips and common mistakes
- Wrapping up and next steps
What you need
- ● Soil pH testing kit: Digital or liquid test kit (e.g., LaMotte Soil pH Test Kit or MySoil app-compatible meter).
- ● pH adjusters: For lowering pH (acidic soil): Elemental sulfur (5–10 lbs per 100 sq ft) or aluminum sulfate (2–4 lbs per 100 sq ft).
- ● For raising pH (alkaline soil): Pelletized lime (10–20 lbs per 100 sq ft) or hydrated lime (5–10 lbs per 100 sq ft).
- ● Garden tools: Hand trowel or garden fork (for mixing amendments into soil).
- ● Garden hose with spray nozzle (for rinsing tools and testing areas).
- ● Measuring tools: Ruler or measuring tape (to mark testing areas), bucket (for soil samples, 5-gallon capacity).
- ● Protective gear: Gloves (nitrile or rubber), safety goggles (if handling sulfur or lime).
- ● Soil conditioners: Compost (to improve soil structure) or peat moss (for acidic-loving plants).
- ● pH-specific fertilizers: Pre-mixed blends for acid-loving (e.g., azaleas) or alkaline-tolerant plants.
- ● pH logbook: Notebook or app (like Gardenate) to track adjustments over time.
- ● Calcium carbonate test: For precise lime calculations (e.g., Winston & Strawn pH calculator tool).
Step-by-Step instructions for adjusting soil pH for optimal plant health
Here’s how I fine-tune soil pH—no guesswork, just science-backed adjustments for vibrant growth.
🌱 Step 1: Test Your Soil’s Current pH Level
Start with a soil pH test kit (digital or liquid) for accuracy. Collect samples from 4-6 inches deep in multiple spots, mix them thoroughly, and follow the kit’s instructions. Most plants thrive in 6.0-7.0 pH, but acid-lovers like blueberries need 4.5-5.5, while veggies like tomatoes prefer 6.2-6.8. I test every spring before planting—this tells me exactly what to adjust.
If your test shows below 6.0, you’ll need to raise pH (lime or wood ash). If it’s above 7.0, lower it (sulfur or peat moss). Write down the exact reading—this is your roadmap for adjustments. For example, my garden tested at 5.8 last year, so I knew to add dolomitic lime before planting tomatoes.
💧 Step 2: Choose the Right Amendments for Your pH Goal
For raising pH, use pelletized lime (fast-acting) or agricultural lime (longer-lasting). Apply 10 pounds per 100 square feet for every 1.0 pH point you need to raise. For instance, if your soil is 5.5 and you want 6.5, apply 10 pounds per 100 sq ft. Work the lime into the top 6 inches of soil and water thoroughly to activate it.
To lower pH, use elemental sulfur (slow but effective) or peat moss (for organic gardens). Sulfur requires 2-3 months to work—apply 2 pounds per 100 sq ft for each 1.0 pH point you need to drop. Mix it into the soil and water well. I avoid aluminum sulfate because it can over-acidify and harm beneficial microbes.
☀️ Step 3: Apply Amendments Evenly and Incorporate
Spread amendments uniformly across the garden bed using a broadcast spreader or by hand. Avoid clumping—uneven application leads to patchy pH zones where plants struggle. For containers, mix amendments directly into the potting soil at a rate of 1 part amendment to 10 parts soil. Water the bed or pot deeply after application to help the amendments dissolve and integrate.
Use a garden fork or tiller to mix amendments into the top 6 inches of soil. This ensures even distribution and prevents surface buildup. For lawns, core aerate first to let amendments reach the roots. I always test soil again 2-3 months later—amendments take time to stabilize, and retesting confirms you’ve hit your target pH.
⏰ Step 4: Monitor and Retest for Long-Term Balance
Re-test soil pH every 6-12 months, especially after heavy rains or if you notice plants struggling (yellowing leaves, stunted growth). Organic matter like compost naturally buffers pH over time, so I add 2-3 inches of compost annually to maintain balance. If pH drifts again, repeat the amendment process—this is an ongoing adjustment, not a one-time fix.
For container gardens, retest seasonally since pH changes faster in pots. I keep a log of my soil’s pH history—this helps me predict when to re-amend. If your plants still look unhealthy after adjusting pH, check for nutrient deficiencies or drainage issues, as these can mimic pH problems. Healthy soil isn’t just about numbers; it’s about how plants perform.
Tips & tricks for perfect soil pH balance
Small adjustments make all the difference when fine-tuning your garden's chemistry.
Test Accuracy Matters: For the most reliable results in Step 1, take multiple samples from different areas of your garden—especially if you notice inconsistent plant health. I've found that mixing samples from sunny and shady spots reveals more accurate pH variations. This prevents you from making blanket adjustments that might create pH zones where plants struggle. The goal is to understand your soil's natural variability, not just get an average reading.
Amendment Timing is Critical: When raising pH in Step 2, apply lime in early fall or late winter—this gives it time to work before planting season. For lowering pH, elemental sulfur needs its full 2-3 months to take effect, so plan ahead. I've learned the hard way that rushing these timelines leads to disappointment when plants don't respond as expected. Think of soil amendments like a slow-release fertilizer—they need time to integrate fully.
Application Technique: In Step 3, don't just sprinkle amendments on top—this creates surface layers that don't reach your plants' roots. Use a broadcast spreader for even distribution, then work them into the top 6 inches with a garden fork. For containers, mix amendments directly into the potting soil at a 1:10 ratio. This ensures nutrients reach where they're needed most, rather than sitting on the surface where they can wash away.
Monitoring Beyond pH: After your 2-3 month retest in Step 4, watch for secondary signs of imbalance. Yellowing leaves might indicate iron deficiency (common in alkaline soils), while stunted growth could signal phosphorus issues. I keep a simple garden journal noting plant performance alongside pH readings—this helps me correlate adjustments with actual plant health over time.
Pro Tips for Balance Soil Ph
- Small adjustments make all the difference when fine-tuning your garden's chemistry.
- Test Accuracy Matters: For the most reliable results in Step 1, take multiple samples from different areas of your ga...
- Amendment Timing is Critical: When raising pH in Step 2, apply lime in early fall or late winter—this gives it time t...
Frequently asked questions
Got questions about balancing soil pH? You’re not alone!
Here are some of the most common concerns—and straightforward answers—to help you get it right the first time.
How often should I test my soil pH?
Test your soil pH at least once a year for established gardens, but every 2-3 months if you’re troubleshooting plant health issues or making frequent amendments. New garden beds should be tested before planting and again after 3-6 months to monitor changes.
Can I use vinegar or lemon juice to lower soil pH?
While vinegar (acetic acid) or lemon juice can temporarily lower pH, they’re not reliable or safe for long-term use. Vinegar can harm beneficial microbes and disrupt soil chemistry. Instead, opt for sulfur, peat moss, or pine needles for a steady, plant-friendly adjustment.
Why won’t my soil pH change after adding amendments?
Patience is key! Soil pH changes slowly—often taking weeks to months to stabilize, depending on your soil type and climate. Loamy soils adjust faster than clay or sandy soils. Re-test in 4-6 weeks, and reapply amendments in small doses if needed. Rain can also dilute amendments, so monitor weather patterns.
What’s the best pH for tomatoes, peppers, and other veggies?
Most vegetables thrive in a slightly acidic range of 6.0–6.8. Tomatoes and peppers prefer 6.0–6.5, while blueberries (4.5–5.5) and asparagus (6.5–7.5) have unique needs. Use a soil test kit to fine-tune pH for your specific crops.
Are there cheap or natural ways to adjust pH without chemicals?
To lower pH, use pine needles, coffee grounds, or composted leaves. To raise pH, try wood ash, crushed eggshells, or crushed limestone. These organic options break down slowly and improve soil health over time—just reapply as needed.
What happens if I overcorrect my soil pH?
Overcorrecting can harm plants and soil life. Extreme pH swings (e.g., below 4.5 or above 8.5) can lock out nutrients, stunt growth, or even kill plants. If you suspect overcorrection, flush the soil with water and retest before re-amending. Small, gradual adjustments are always safer!
Wrapping up and next steps
Balancing your soil’s pH is the secret sauce for thriving plants—whether you’re growing veggies, flowers, or trees! 🌱 With the right tools, patience, and a few simple steps, you can create the perfect environment for roots to flourish.
Start small, test regularly, and adjust as needed—your green thumb (and plants!) will thank you.
Ready to take the next step? Pick one plant or area to experiment with this month, track your progress, and watch your garden transform! 🌟 Happy growing!