How To
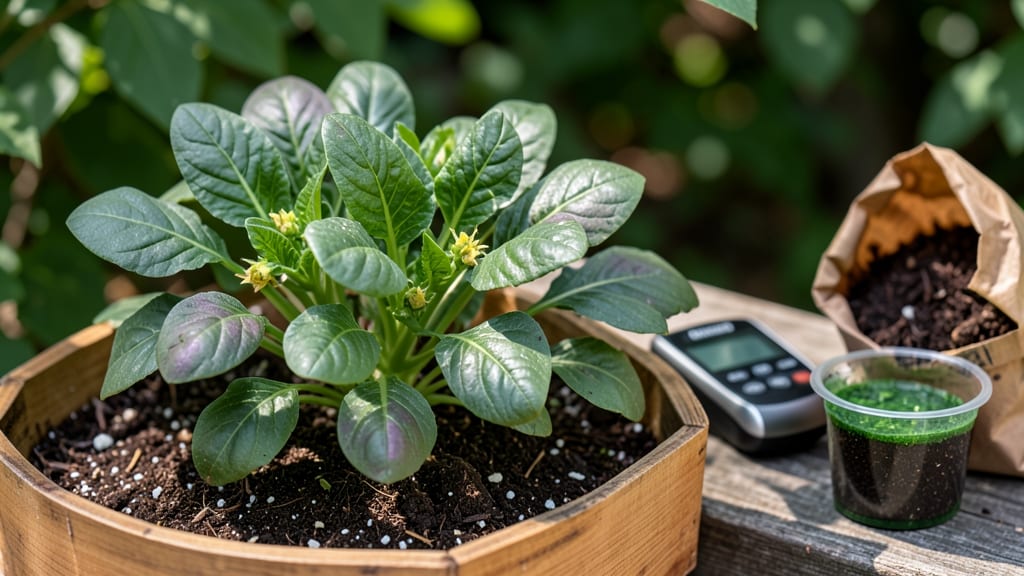
Growing mustard greens with the right soil pH range—between 5.8 and 6.5—is the game-changer for crisp, flavorful leaves instead of bitter disappointment.
Picture this: your 🥬 seedlings are thriving, but the leaves taste sharp or the plants wilt before harvest. That’s often a pH problem lurking in the soil, not your gardening skills. A simple test and adjustment can turn a struggling patch into a leafy green goldmine.
Why does pH matter so much? Mustard greens crave slightly acidic soil to soak up nutrients efficiently. Too high or too low, and you’ll deal with yellowing leaves, slow growth, or even poor germination—problems that cost you time and harvests.
Below, I’ll walk you through how to test your soil, tweak the pH naturally, and keep your mustard greens happy from seed to salad bowl—no guesswork involved.
Optimal mustard greens soil pH range: the exact numbers for peak growth
Mustard greens thrive in a slightly acidic to neutral soil environment, where their roots can efficiently absorb nitrogen, phosphorus, and micronutrients. The ideal pH range for mustard greens is between 5.8 and 6.5, a sweet spot that prevents nutrient deficiencies while avoiding toxic aluminum buildup.
When soil pH strays outside this window, your plants may develop bitter flavors, yellowing leaves, or stunted growth—even if you’re watering and fertilizing correctly.
Soil pH directly impacts nutrient availability. For example, at a pH of 7.0 or higher, essential nutrients like iron and manganese become locked away, causing chlorosis (yellowing between leaf veins).
Conversely, a pH below 5.5 can make aluminum and manganese toxic, leading to brown leaf edges or poor germination. The key is maintaining that 5.8–6.5 balance for mustard greens to access all the nutrients they need to grow fast, flavorful, and healthy.
Testing your soil’s pH is simpler than you think. You don’t need a lab—DIY test kits (like those from Luster Leaf or MySoil) give accurate readings in minutes.
For a more budget-friendly approach, use a pH strip test by collecting a soil sample, mixing it with distilled water, and comparing the color to the kit’s chart. I recommend testing before planting and again mid-season to catch any shifts caused by rain or amendments.
If your soil pH is outside the ideal range, don’t panic. Small adjustments with organic matter like compost or peat moss can gradually shift the pH toward neutrality.
For example, adding elemental sulfur lowers pH, while pelletized lime raises it. The goal is to create a stable, nutrient-rich environment where mustard greens can flourish without stress.
One of the biggest mistakes gardeners make is assuming all greens prefer the same pH. Unlike spinach or kale, which tolerate slightly higher pH levels, mustard greens are more sensitive to alkalinity.
If your soil tests at 7.0 or above, your plants may struggle to absorb enough phosphorus and zinc, leading to weak stems and small leaves. I’ve seen this firsthand in my garden—until I adjusted the pH, my mustard greens grew slowly and tasted bitter.
Another red flag is yellowing between leaf veins, a classic sign of iron chlorosis. This happens when the soil pH is too high, blocking iron uptake.
To fix it, I mix 1–2 tablespoons of iron sulfate per 10 square feet into the top inch of soil and water thoroughly. For a more natural approach, add well-aged compost (which buffers pH) and mulch with pine needles to lower acidity gradually.
Don’t overlook the role of organic
How to adjust soil pH for mustard greens: step-by-step fixes
Mustard greens thrive when their soil pH stays within the 5.8–6.5 range. If your soil tests outside this window, don’t panic—simple organic amendments can restore balance. The key is patience and precision, as sudden pH shifts can stress your plants.
I’ll walk you through proven methods to lower or raise pH safely, using only natural materials.
Before diving into fixes, grab a DIY soil test kit (available for under $10) or send a sample to your local extension office. Testing gives you exact numbers, so you’re not guessing.
For example, if your soil reads 7.0 or higher, mustard greens will struggle to absorb iron and zinc, leading to yellowing leaves. Let’s get your soil back on track.
Mustard greens hate extremes. A pH below 5.5 locks out phosphorus, while above 7.0 blocks iron—both cause chlorosis (yellowing) or stunted growth. Test soil before planting; amendments take 4–8 weeks to adjust pH. Overcorrecting can harm beneficial microbes!
To lower acidic soil (raise pH), work in pelletized lime or crushed eggshells. Sprinkle 1–2 pounds per 100 sq ft into the top 6 inches of soil, then till lightly. For alkaline soil (lower pH), use elemental sulfur or peat moss.
Mix in ½–1 pound of sulfur per 100 sq ft and water thoroughly. Both amendments work best in moist soil, so plan adjustments during spring or fall.
For faster results, top-dress with composted manure or coffee grounds. Coffee grounds (slightly acidic) can gently lower pH by 0.5–1.0 points over time, while compost adds microbial activity that naturally buffers pH. Re-test soil every 4 weeks until you hit the 5.8–6.5 sweet spot.
Avoid synthetic fertilizers—they can spike pH unpredictably.
Long-term soil health matters more than quick fixes. After adjusting pH, mulch with straw or wood chips to stabilize moisture and prevent pH swings. Rotate crops yearly to avoid nutrient depletion, and add compost annually.
Healthy soil with balanced pH means sweeter, faster-growing mustard greens with fewer pests and diseases.
Remember: pH isn’t static. Rain, decomposition, and plant uptake can shift levels. Test soil before each planting season and make minor tweaks as needed. With these steps, your mustard greens will reward you with bold, tender leaves all season long. Happy growing!